Before we get started with this amazing quilting technique today using the awesome Trapezoid Creative Grids ruler, we wanted to let you know about a few upcoming store offerings this week!
Don't Miss!!! (check calendar for more info!)
- Mamie Dress Pattern Class Taught by Susan (Tuesday, 9am - 3:30pm)
- Serger Technique Workbook Class (Wednesday, 10am - 12pm)
- Introduction to Machine Quilting (Thursday, 10am - 2pm)
- Palette 9 and Masterworks Software Class (Friday)
- Beginning Sewing Part 1 (Saturday, 9am - 1pm)
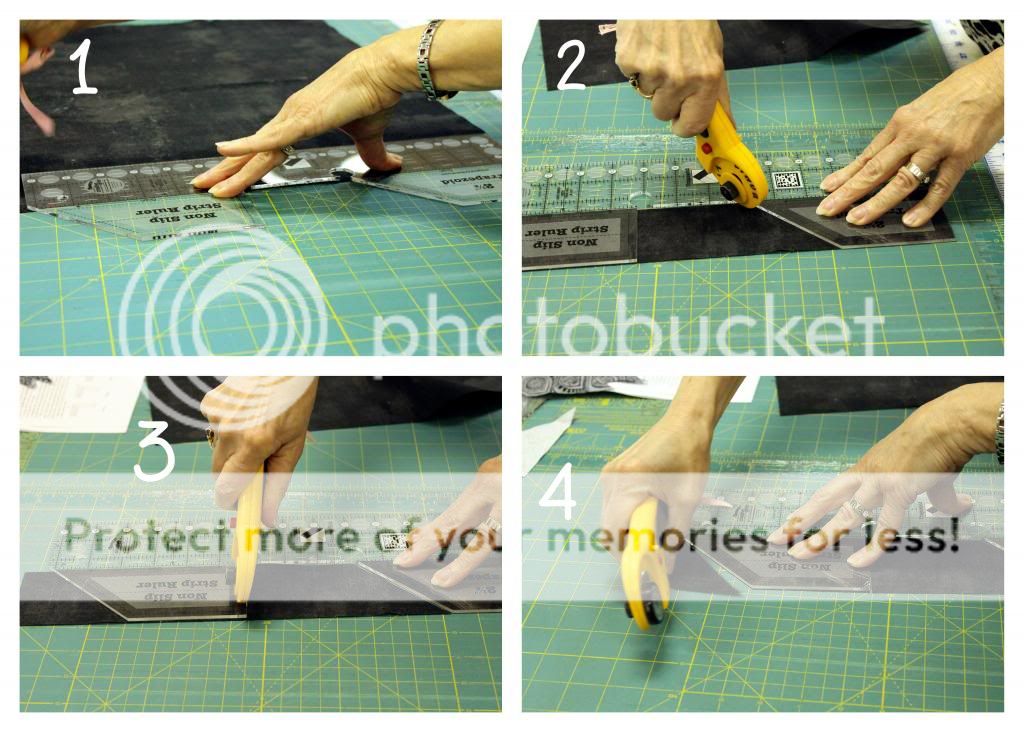
With this ruler, you can both cut 2.5'' strips AND cut your trapezoids needed to build a quilt braid (or Herringbone) pattern. You will create a 5'' Trapezoid using this ruler and we love it, because it saves you a lot of time and fumbling with several different rulers!
Ready to see how this is done? It truly is so fast and easy!
1.Cut your 2.5'' strip!
2. Now move your ruler down and line up your trapezoid section of your ruler along the top edge of the fabric. Cut your fabric strip at each of the trapezoid cut out sections with your rotary cutter (2, 3, 4).
Repeat this process again 2 or 3 times to get different coordinating fabrics to fit together. We used 2 different fabrics to create one braid to model for you.
Lastly, we will show you how to layout your pieces to create this braid design, then leave the quilting piecing up to you for whatever project you are working on!
Using 1/4'' seam, join these pieces together to create this braid effect!
Use this technique for quilts, braids, neat fabric designs, and more! The options are endless!


